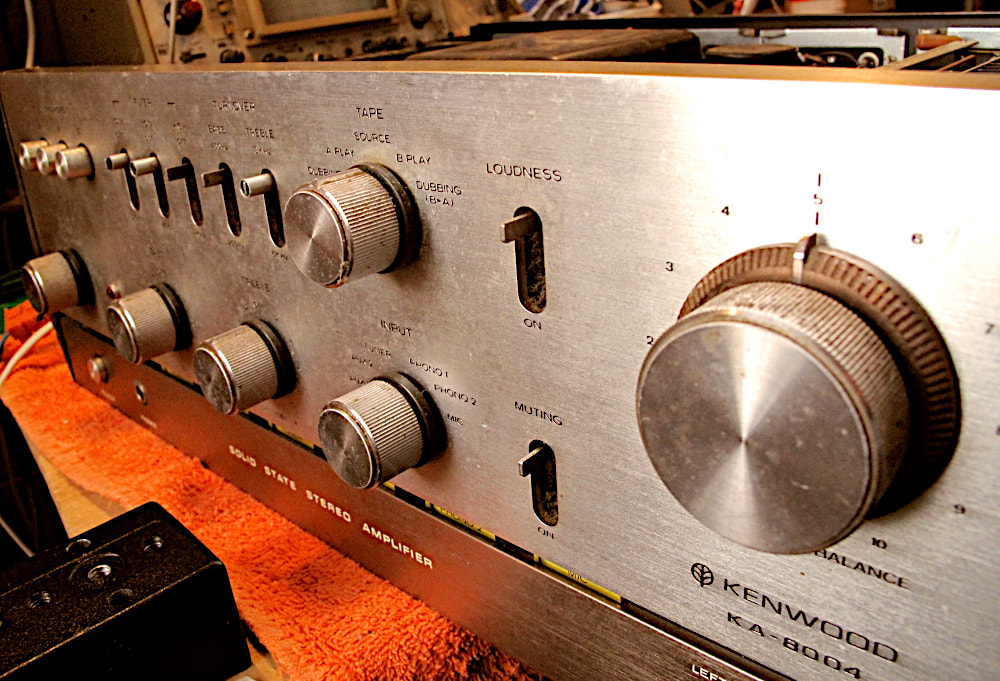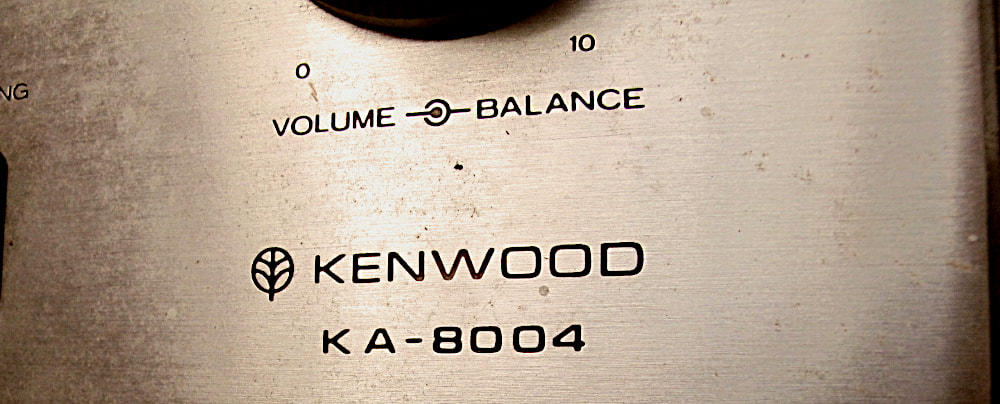
Kenwood KA-8004 Integrated Amplifier
This is a 1970's high quality integrated amp. The build quality is superb, heavy chassis enclosed and potted transformer, engraved face plate and top quality electronic components used throughout. Very impressive. I've had this for quite a while ...just waiting for the right time to repair/restore it.
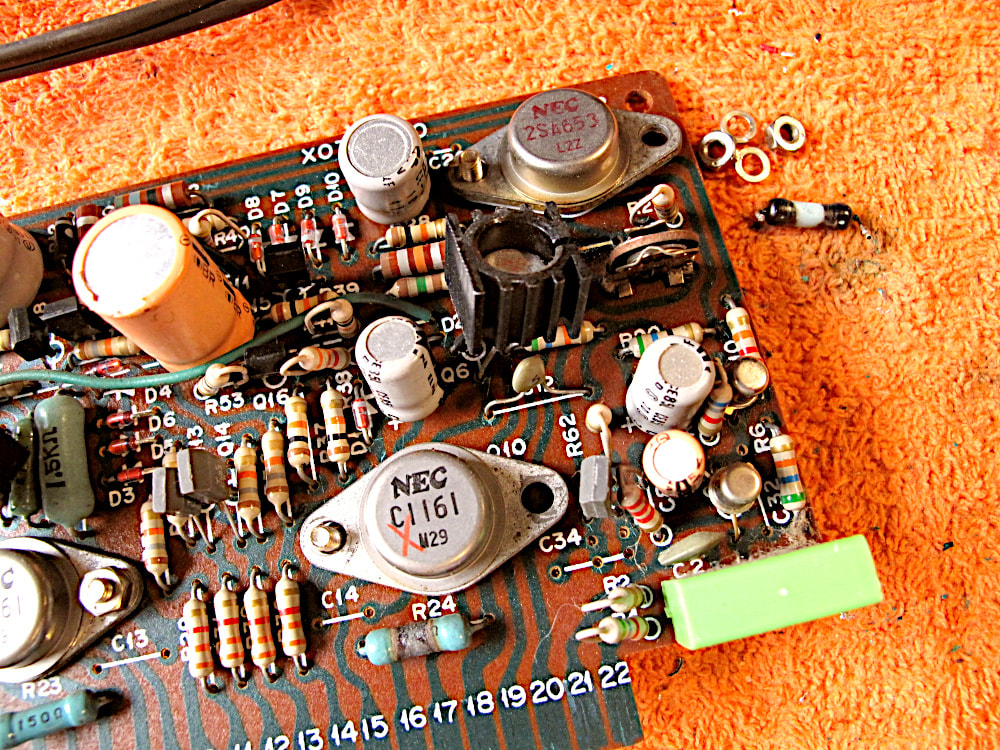
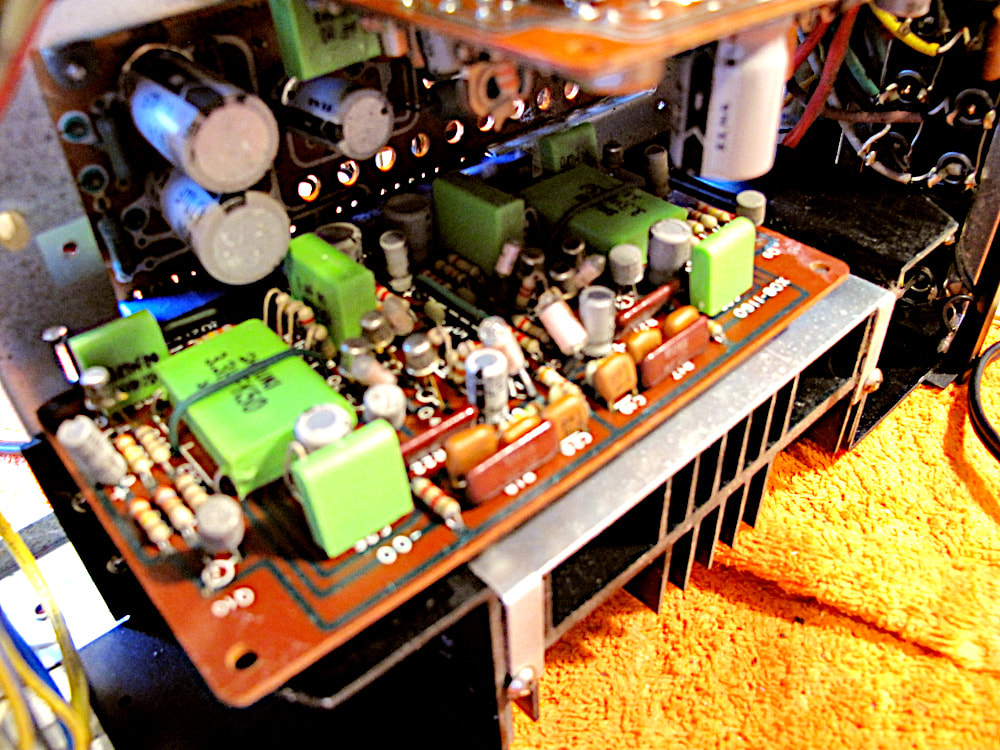
The amplifier was not working, powered up but no audio; after testing and diagnosis it had a blown left hand channel, at this stage the right channel was fine.
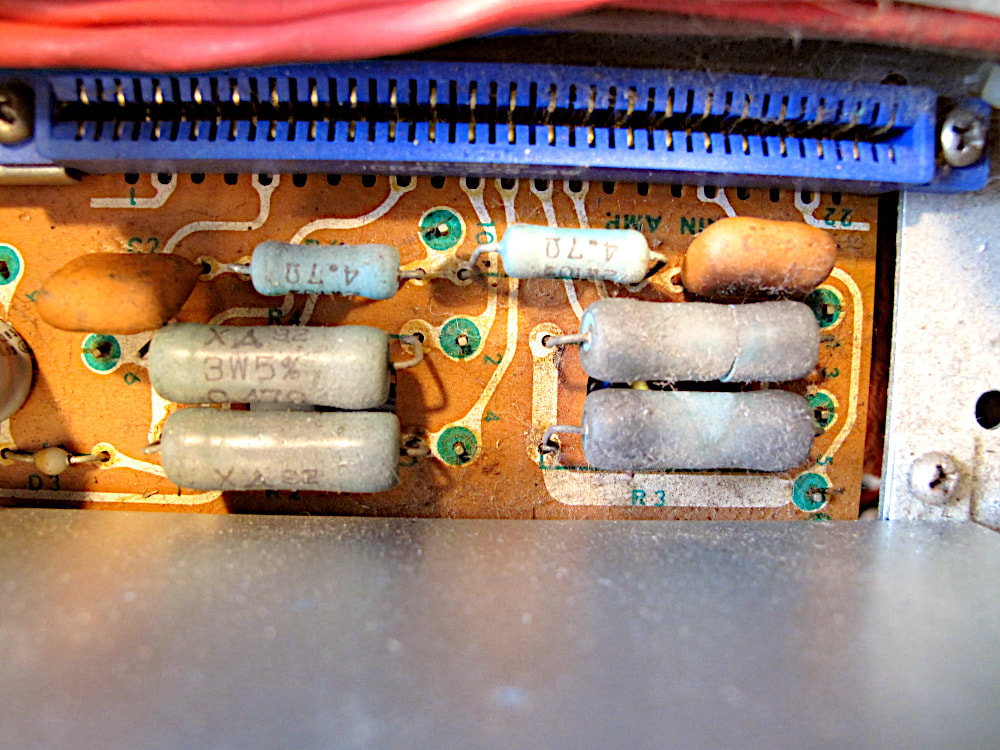
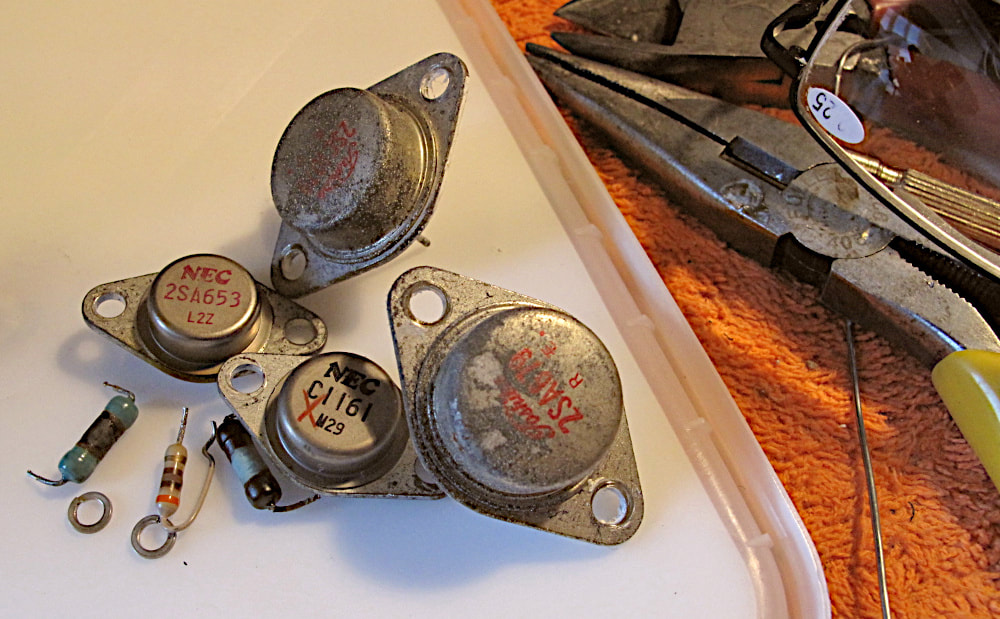
The faulty channel has blown output devices a blown driver transistor, two emitter resistor blown and several resistors on the driver board. The rest of the small signal transistors, after testing with a meter on the board (not removed from the board) at this stage tested fine. The other components were visually OK, the blown resistors were all either discoloured or even burnt black with one emitter resistor actually broken in half from the heat.
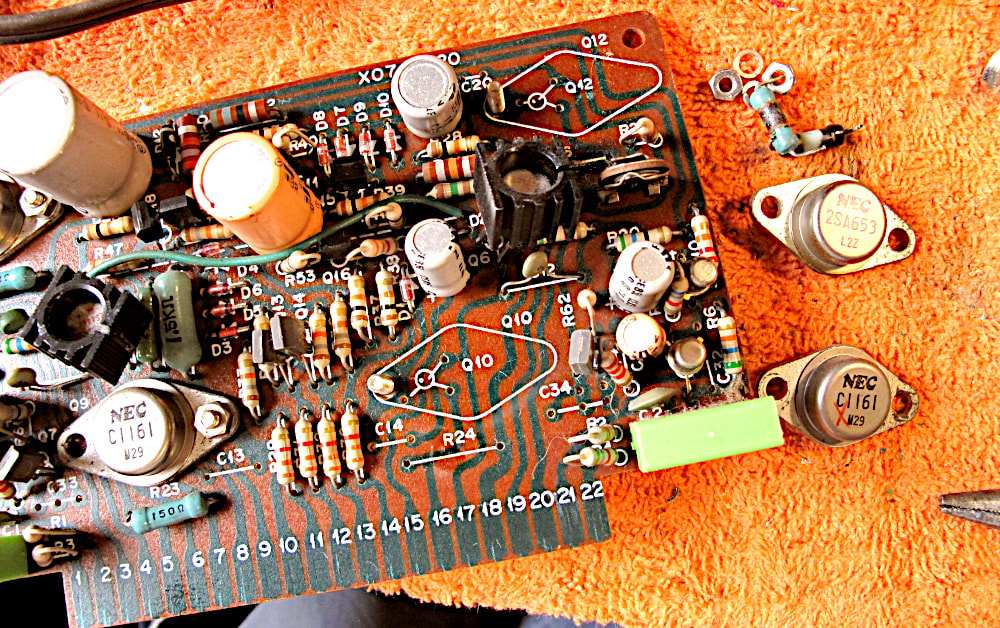
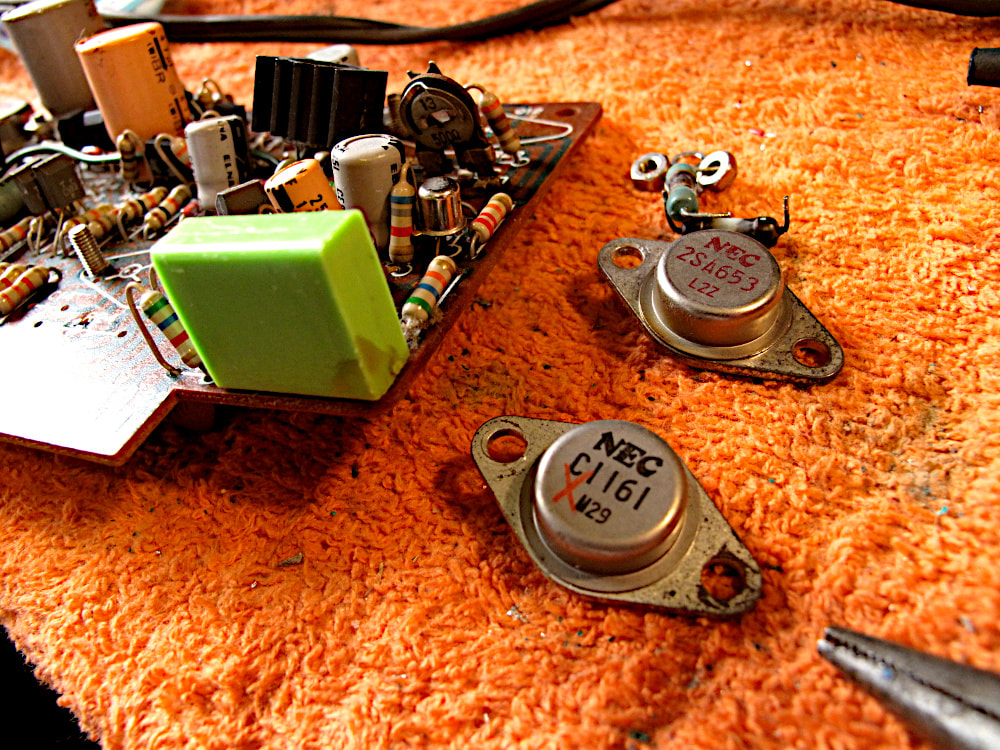
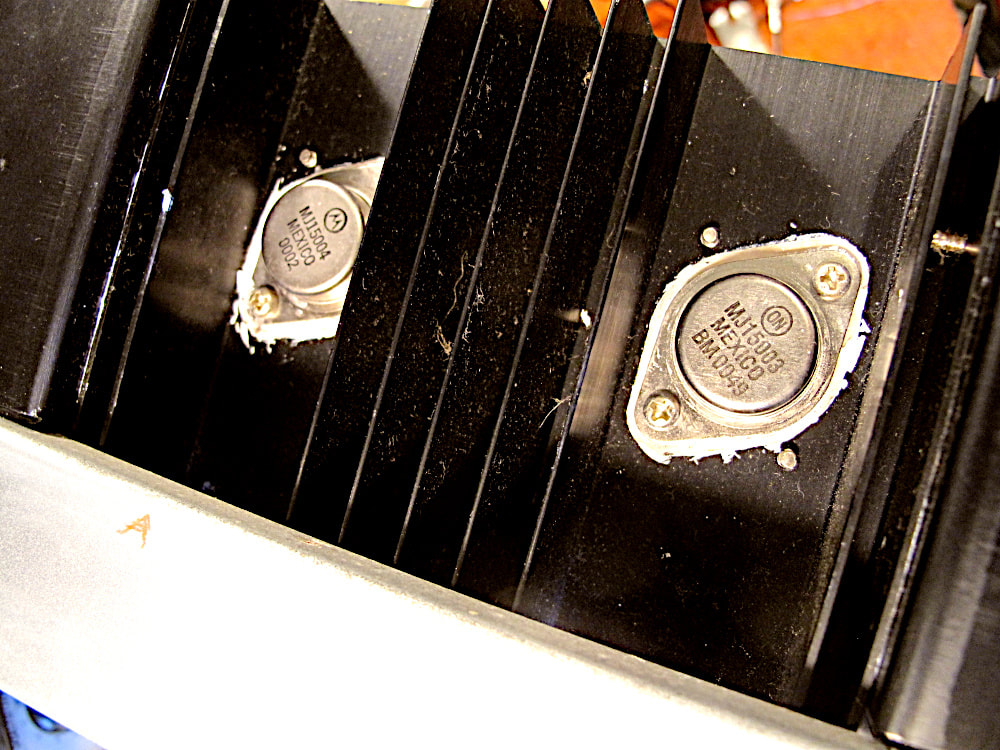
I replaced all the resistors from my stock; the transistors (output and drivers) are no longer available from new and I had no vintage ones, originals are Toshiba and NEC parts; I had to replace with, at this stage European parts - Mj15003/4 for the outputs and TIP41c/42c for the drivers. I would have used these, easily obtainable replacements, initially to make sure the repair was sound and then had the originals been available substituted them into the working amplifier. However no originals around so I'll leave the "proof of concept" parts in and use the amplifier. Bias set and the replacement parts are installed properly and fully as they may stay in the long run.
It has had the face plate removed and cleaned along with the knobs, I need to source or make new switch toggles as these are a known weakness/failure, I've never seen vintage salvaged replacements for sale.
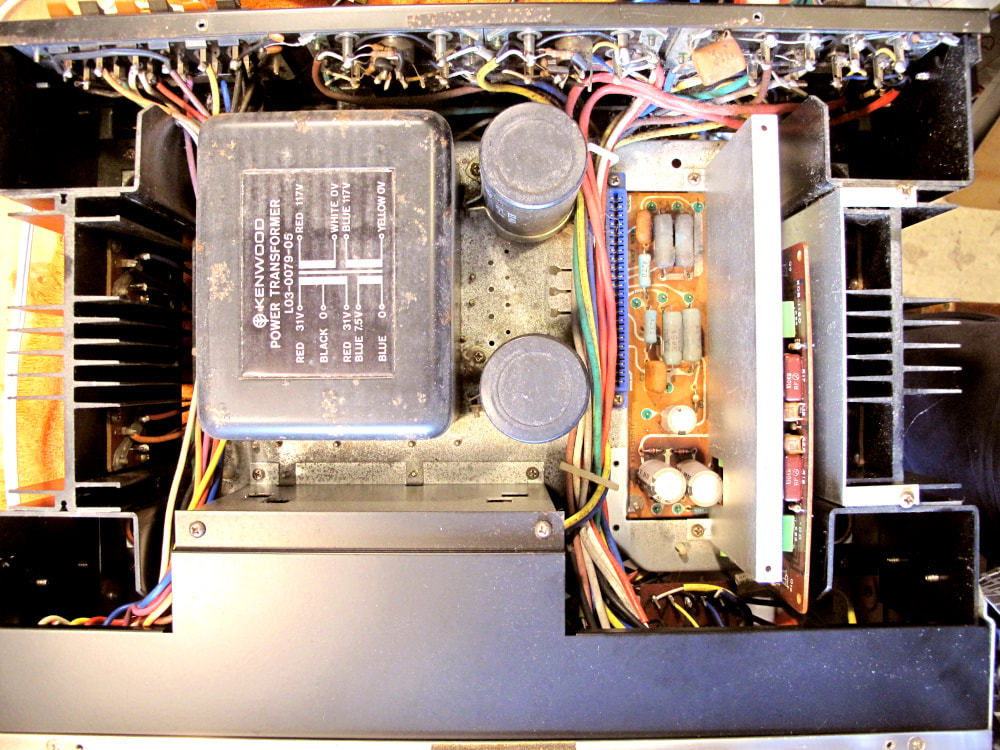
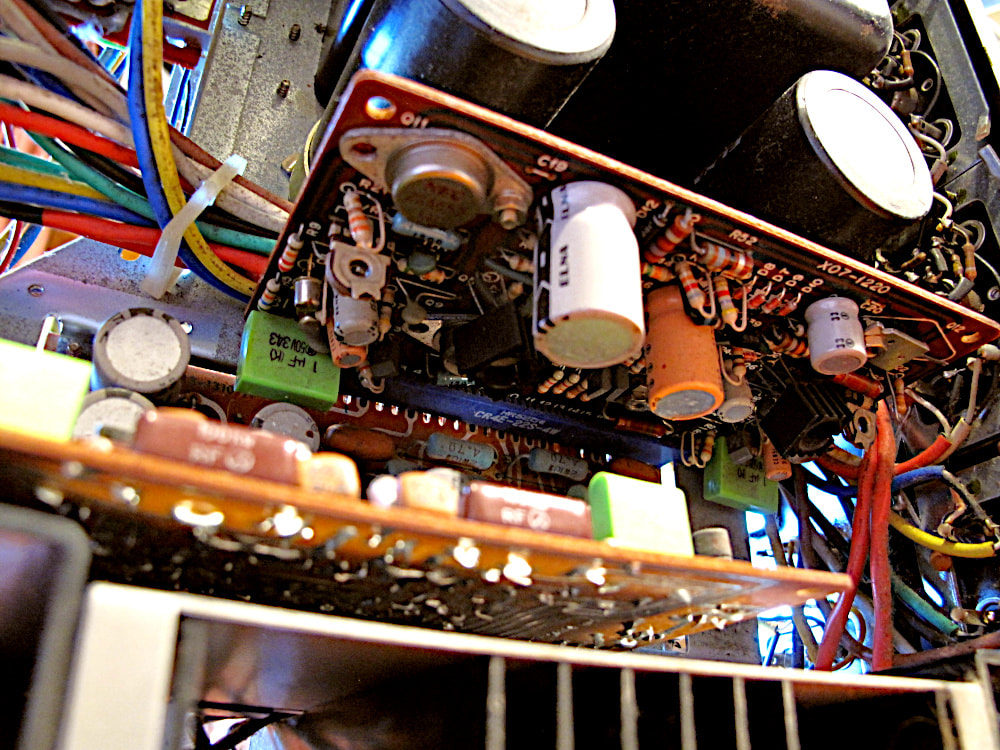
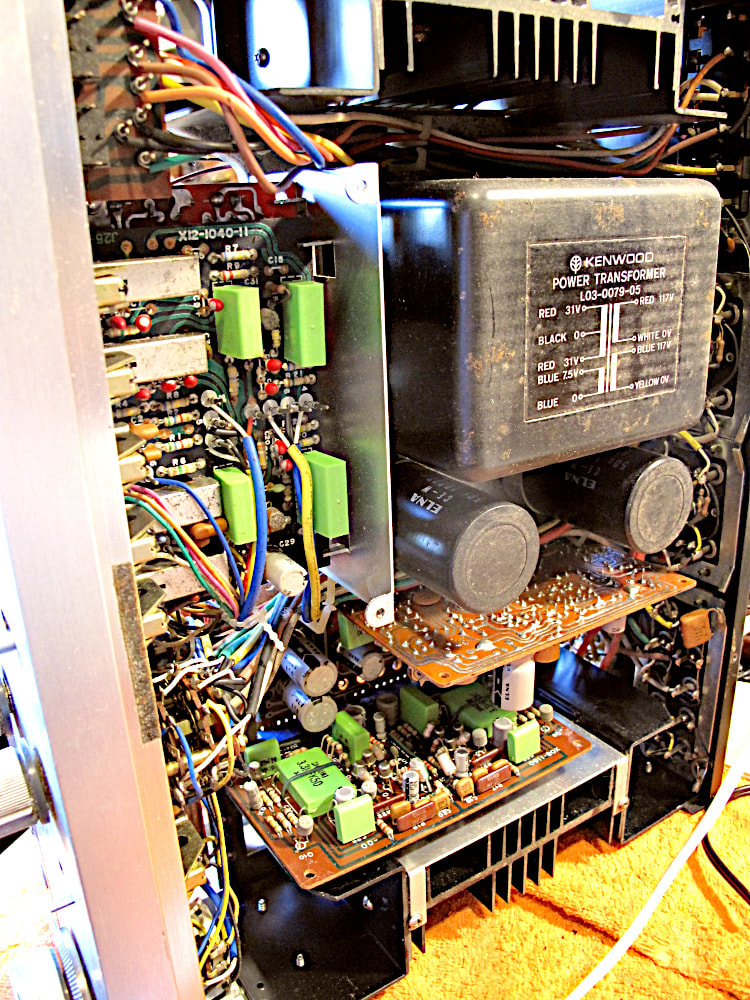
Next the unit will be recapped, many or most are tired by now I suspect. I replaced a panel lamp but the power indicator lamp needs replacing also.
NOTE: Replacing the driver transistors in TO-66 package with TIP31c/32c works very well. The metal tab of the new transistors bolts to the original bolt and pad and the "legs" bend at right angles and fit the original holes and pads.
I have come across quite a number of Japanese amps, including Sony and Luxman that, themselves decided to replace the (original?) TO-66 package transistors with the plastic package/metal tab type (TO-220 and similar) in this way using the original TO-66 sockets or pattern ... obviously saves on board redesign and may have allowed both types of transistor to be used as and when needed and depending on power rating; the same circuit board and fittings could be used in several models of amplifier. It's a supposition but seems logical?
For now: The amplifier runs well and is a joy to hear. I'll use it for a while as is.
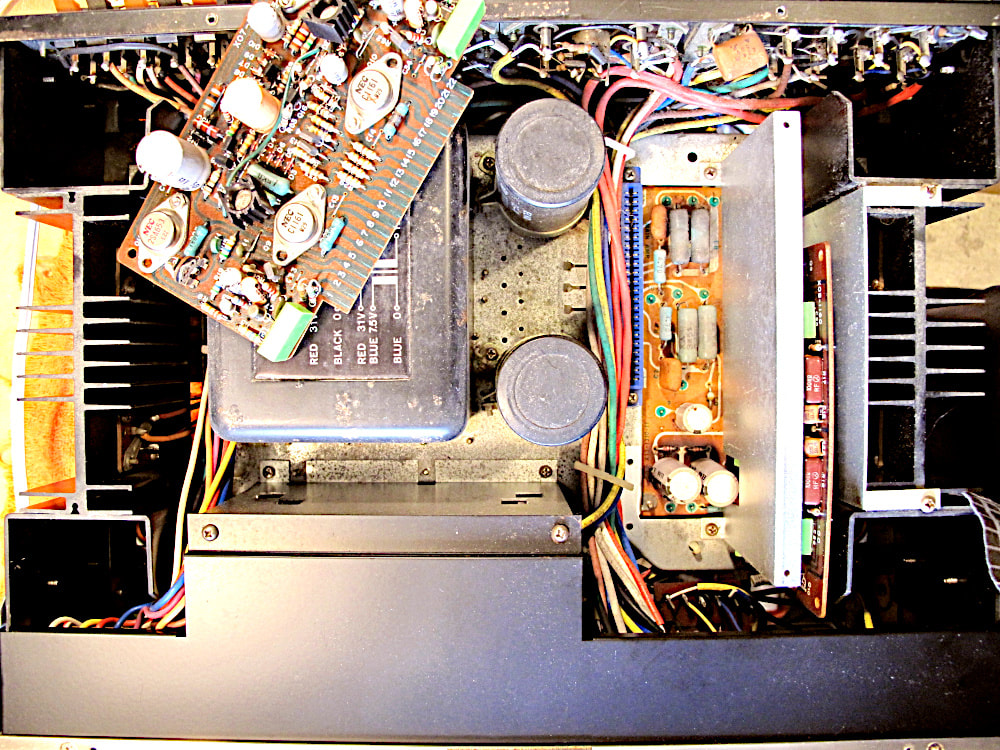
I replaced only two capacitors (on a power board underneath) while repairing because the board had to be removed and I did not want to have to remove it again. Other capacitors will replaced later because
board removal was easy or in the case of the tone board I did not need to remove it at this time. Taking the restore a step or two at
a time means that if is does not function the number of changes (at one time) is minimal and easier to step backwards to find a mistake or problem.
Update:... coming soon!
The amplifier was not working, powered up but no audio; after testing and diagnosis it had a blown left hand channel, at this stage the right channel was fine.
The faulty channel has blown output devices a blown driver transistor, two emitter resistor blown and several resistors on the driver board. The rest of the small signal transistors, after testing with a meter on the board (not removed from the board) at this stage tested fine. The other components were visually OK, the blown resistors were all either discoloured or even burnt black with one emitter resistor actually broken in half from the heat.
I replaced all the resistors from my stock; the transistors (output and drivers) are no longer available from new and I had no vintage ones, originals are Toshiba and NEC parts; I had to replace with, at this stage European parts - Mj15003/4 for the outputs and TIP41c/42c for the drivers. I would have used these, easily obtainable replacements, initially to make sure the repair was sound and then had the originals been available substituted them into the working amplifier. However no originals around so I'll leave the "proof of concept" parts in and use the amplifier. Bias set and the replacement parts are installed properly and fully as they may stay in the long run.
It has had the face plate removed and cleaned along with the knobs, I need to source or make new switch toggles as these are a known weakness/failure, I've never seen vintage salvaged replacements for sale.
Next the unit will be recapped, many or most are tired by now I suspect. I replaced a panel lamp but the power indicator lamp needs replacing also.
NOTE: Replacing the driver transistors in TO-66 package with TIP31c/32c works very well. The metal tab of the new transistors bolts to the original bolt and pad and the "legs" bend at right angles and fit the original holes and pads.
I have come across quite a number of Japanese amps, including Sony and Luxman that, themselves decided to replace the (original?) TO-66 package transistors with the plastic package/metal tab type (TO-220 and similar) in this way using the original TO-66 sockets or pattern ... obviously saves on board redesign and may have allowed both types of transistor to be used as and when needed and depending on power rating; the same circuit board and fittings could be used in several models of amplifier. It's a supposition but seems logical?
For now: The amplifier runs well and is a joy to hear. I'll use it for a while as is.
I replaced only two capacitors (on a power board underneath) while repairing because the board had to be removed and I did not want to have to remove it again. Other capacitors will replaced later because
board removal was easy or in the case of the tone board I did not need to remove it at this time. Taking the restore a step or two at
a time means that if is does not function the number of changes (at one time) is minimal and easier to step backwards to find a mistake or problem.
Update:... coming soon!